The Workspace
Lyric Video Maker uses a four-panel workspace layout. Each panel is resizable — drag the borders between them to adjust.
Project Setup (left panel)
The left panel contains all the project-level settings organized into sections:
Files
- Song audio — Click Pick MP3 to select your audio file.
- Lyric subtitles — Click Pick SRT to load a subtitle file, or Generate SRT to create one with AI.
- Output MP4 — Click Save As to choose where to save the rendered video.
Output / Render
- Render threads — Number of Chromium workers used for frame rendering. More threads render faster but use more memory.
- Encoding — Choose between x264 (MP4/H.264), x265 (MP4/H.265), or WebM (VP9/Opus).
- Quality — Balance between file size and visual quality. Each codec has three presets: smaller file, balanced, and high quality.
Video
- Size preset — Quick picks for common resolutions: 4K, 2K, 1080p, 720p, or 1024 Square. Choose "Custom" to enter exact dimensions.
- FPS preset — Common frame rates: 15, 20, 30, or 60 fps. Choose "Custom" to enter an exact value.
- Width / Height / Frame rate — Fine-tune these values directly when using custom settings.
Render
At the bottom, the Render MP4 (or Render WebM) button starts the full render.
Scene Builder (center-left panel)
The Scene Builder shows the components that make up your video's visual layout. Components render as layers — the first component in the list draws on the bottom, the last draws on top.
For each component you can:
- Toggle On/Off — Enable or disable the component without removing it.
- Reorder — Use the arrow buttons to move a component up or down in the stack.
- Duplicate — Create a copy with the same settings.
- Remove — Delete the component from the scene.
Use the Add component dropdown at the bottom to add new components to the scene.
Click the Scene button at the top to switch to the Scene Editor view.
Frame Preview (center panel)
The preview panel renders a single frame of your video at the current timeline position. It requires both an audio file and subtitle file to be loaded, and FFmpeg to be configured.
Preview Controls
On the right side of the preview panel:
- Start — Jump to the first frame.
- Previous Cue — Jump to the previous subtitle cue's start time.
- Current Cue — Jump to the start of the currently active subtitle cue.
- Next Cue — Jump to the next subtitle cue's start time.
- End — Jump to the last frame.
A timeline scrubber at the bottom lets you drag to any point in the video. The current timestamp and frame number are shown in the top-right corner.
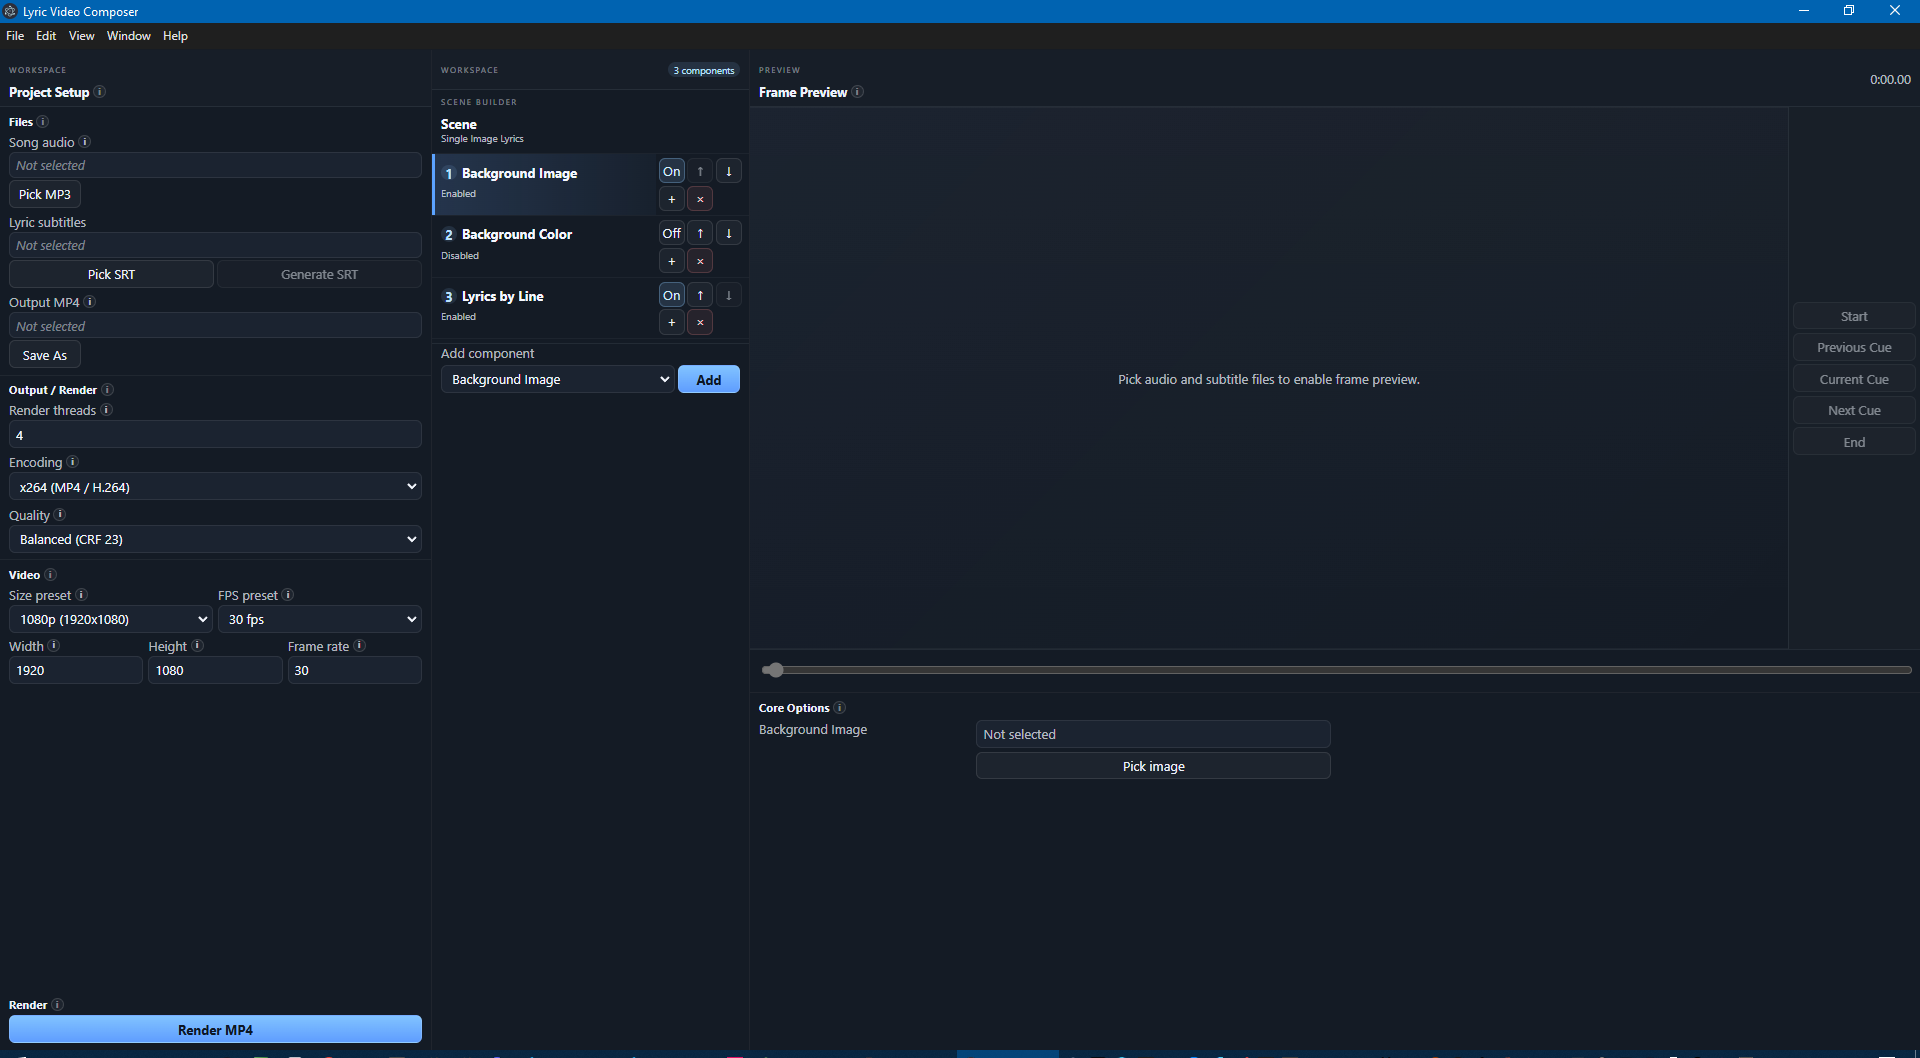
Component Options (bottom panel)
When you select a component in the Scene Builder, its options appear in the bottom panel. Each component type has different options organized into collapsible categories.
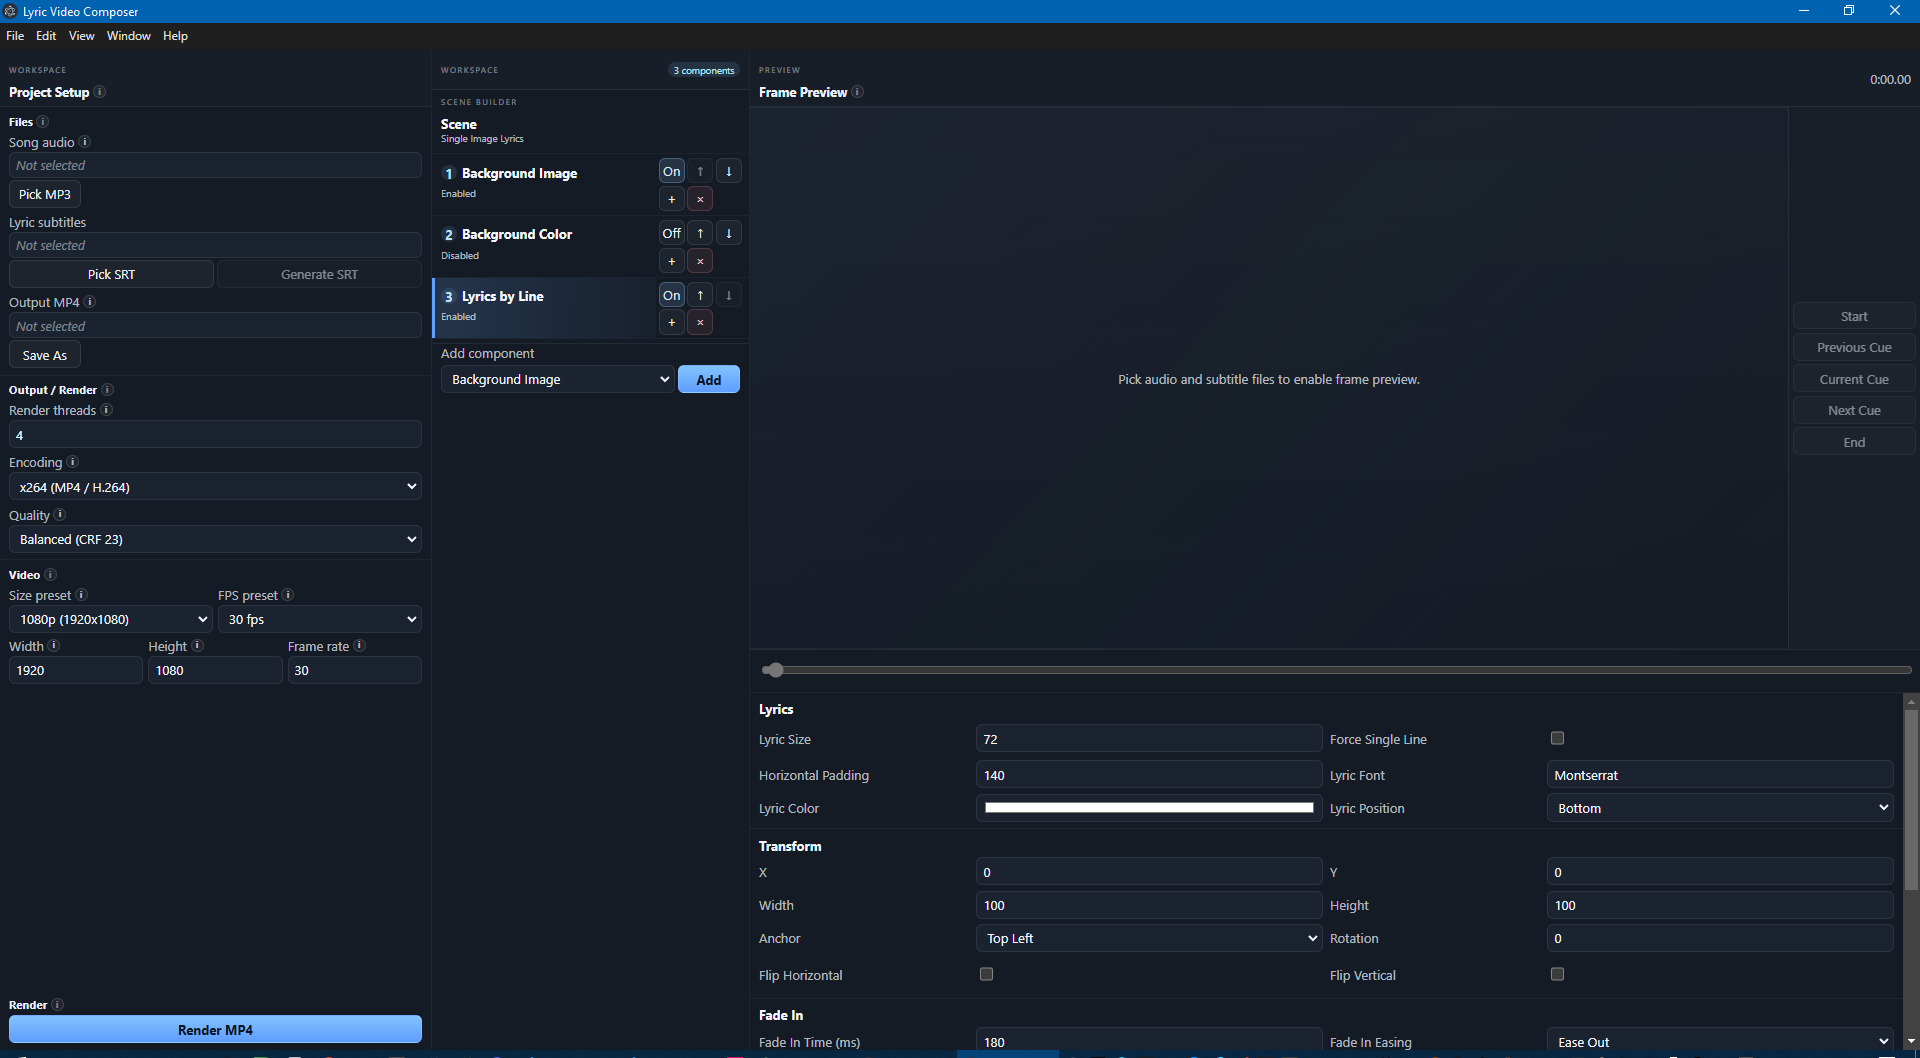
Above the component's own options, the Modifiers section controls how the component is positioned, timed, and displayed. Add stackable modifiers — Transform, Timing, Opacity, Visibility, and any provided by installed plugins — to place a component, fade it in/out, or dim it.
See Scenes & Components for details on each component's options and the full list of built-in modifiers.
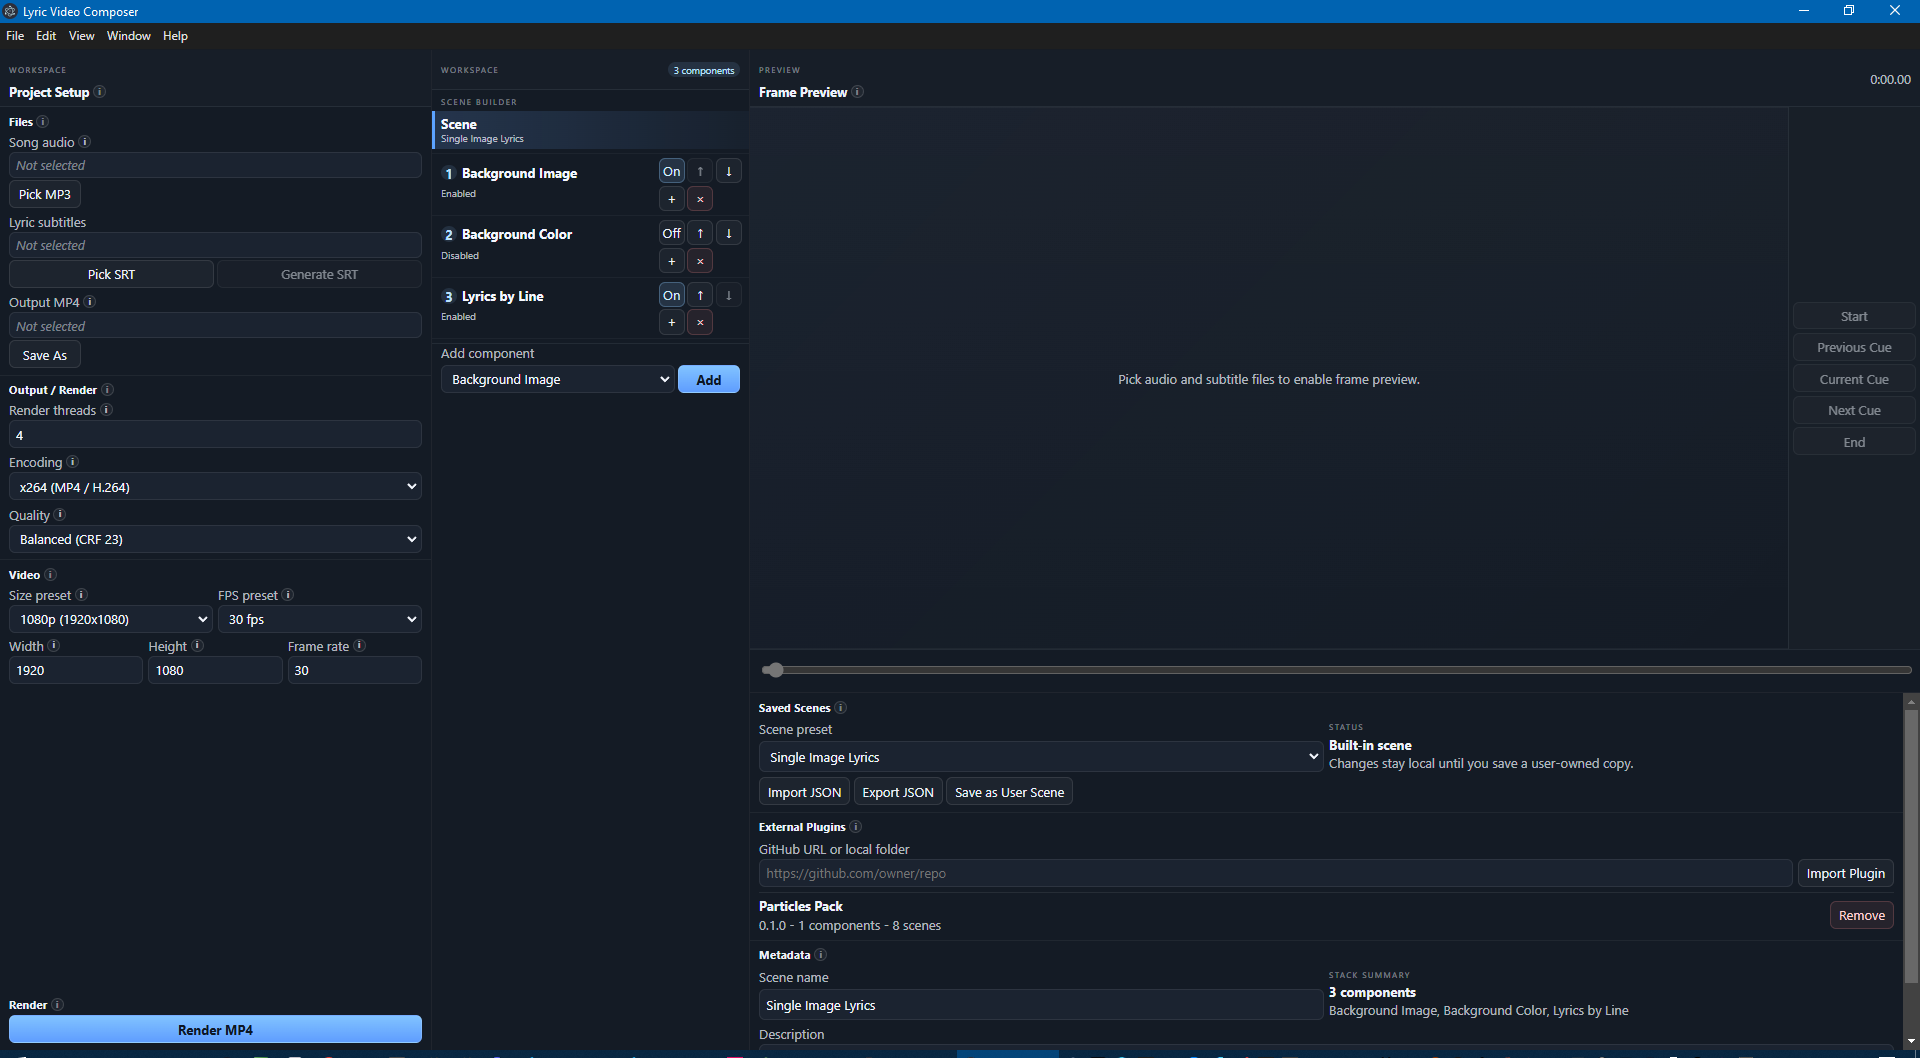
Scene Editor
Click the Scene button at the top of the Scene Builder to switch to the Scene Editor view.

From here you can:
- Choose a scene preset — Select from built-in scenes, your saved scenes, or plugin-provided scenes. When the current scene already has components you can choose to Replace the scene entirely or Add to Existing to append the new scene's components to the current stack.
- Import / Export JSON — Share scene configurations as JSON files.
- Save as User Scene — Save your current component arrangement as a reusable scene preset.
- Manage plugins — Install or remove plugins that add new components and scenes. See Plugins for details.
The scene editor also shows the scene's name, description, and the list of components it contains.